Swiss-German Layout for the Planck Keyboard
After writing my first blog post about the Planck keyboard in early 2024, I put it away and switched back to a full-sized keyboard. COVID has passed for sure, and I returned to the office only to discover that I no longer had my desk. Now I have a desk with a monitor to put my stuff during the day, but I need to tidy it before going home. Keyboards and mice have become very personal items and are treated like a pair of dirty socks if ever left on the desk. Some colleagues store their keyboards in their lockers, but that only works if you’re working at just one location, which is not the case for me. Thus, a need arose for a small keyboard that takes up minimal space and would permanently live in my backpack.
Mod-Tap
The main reason I abandoned the Planck keyboard was because it desperately lacked keys (duh!) when using it with any language other than English. However, I recently overheard in a podcast the most obvious thing ever: MODIFIER KEYS ARE USED DIFFERENTLY THAN THE REST. They are modifiers of other keys and are meant to be held down while the other key is tapped. This means that we can assign different behaviors to the same key depending on whether it is tapped or held down. In fact, this feature is already built into QMK and it is called Mod-Tap.
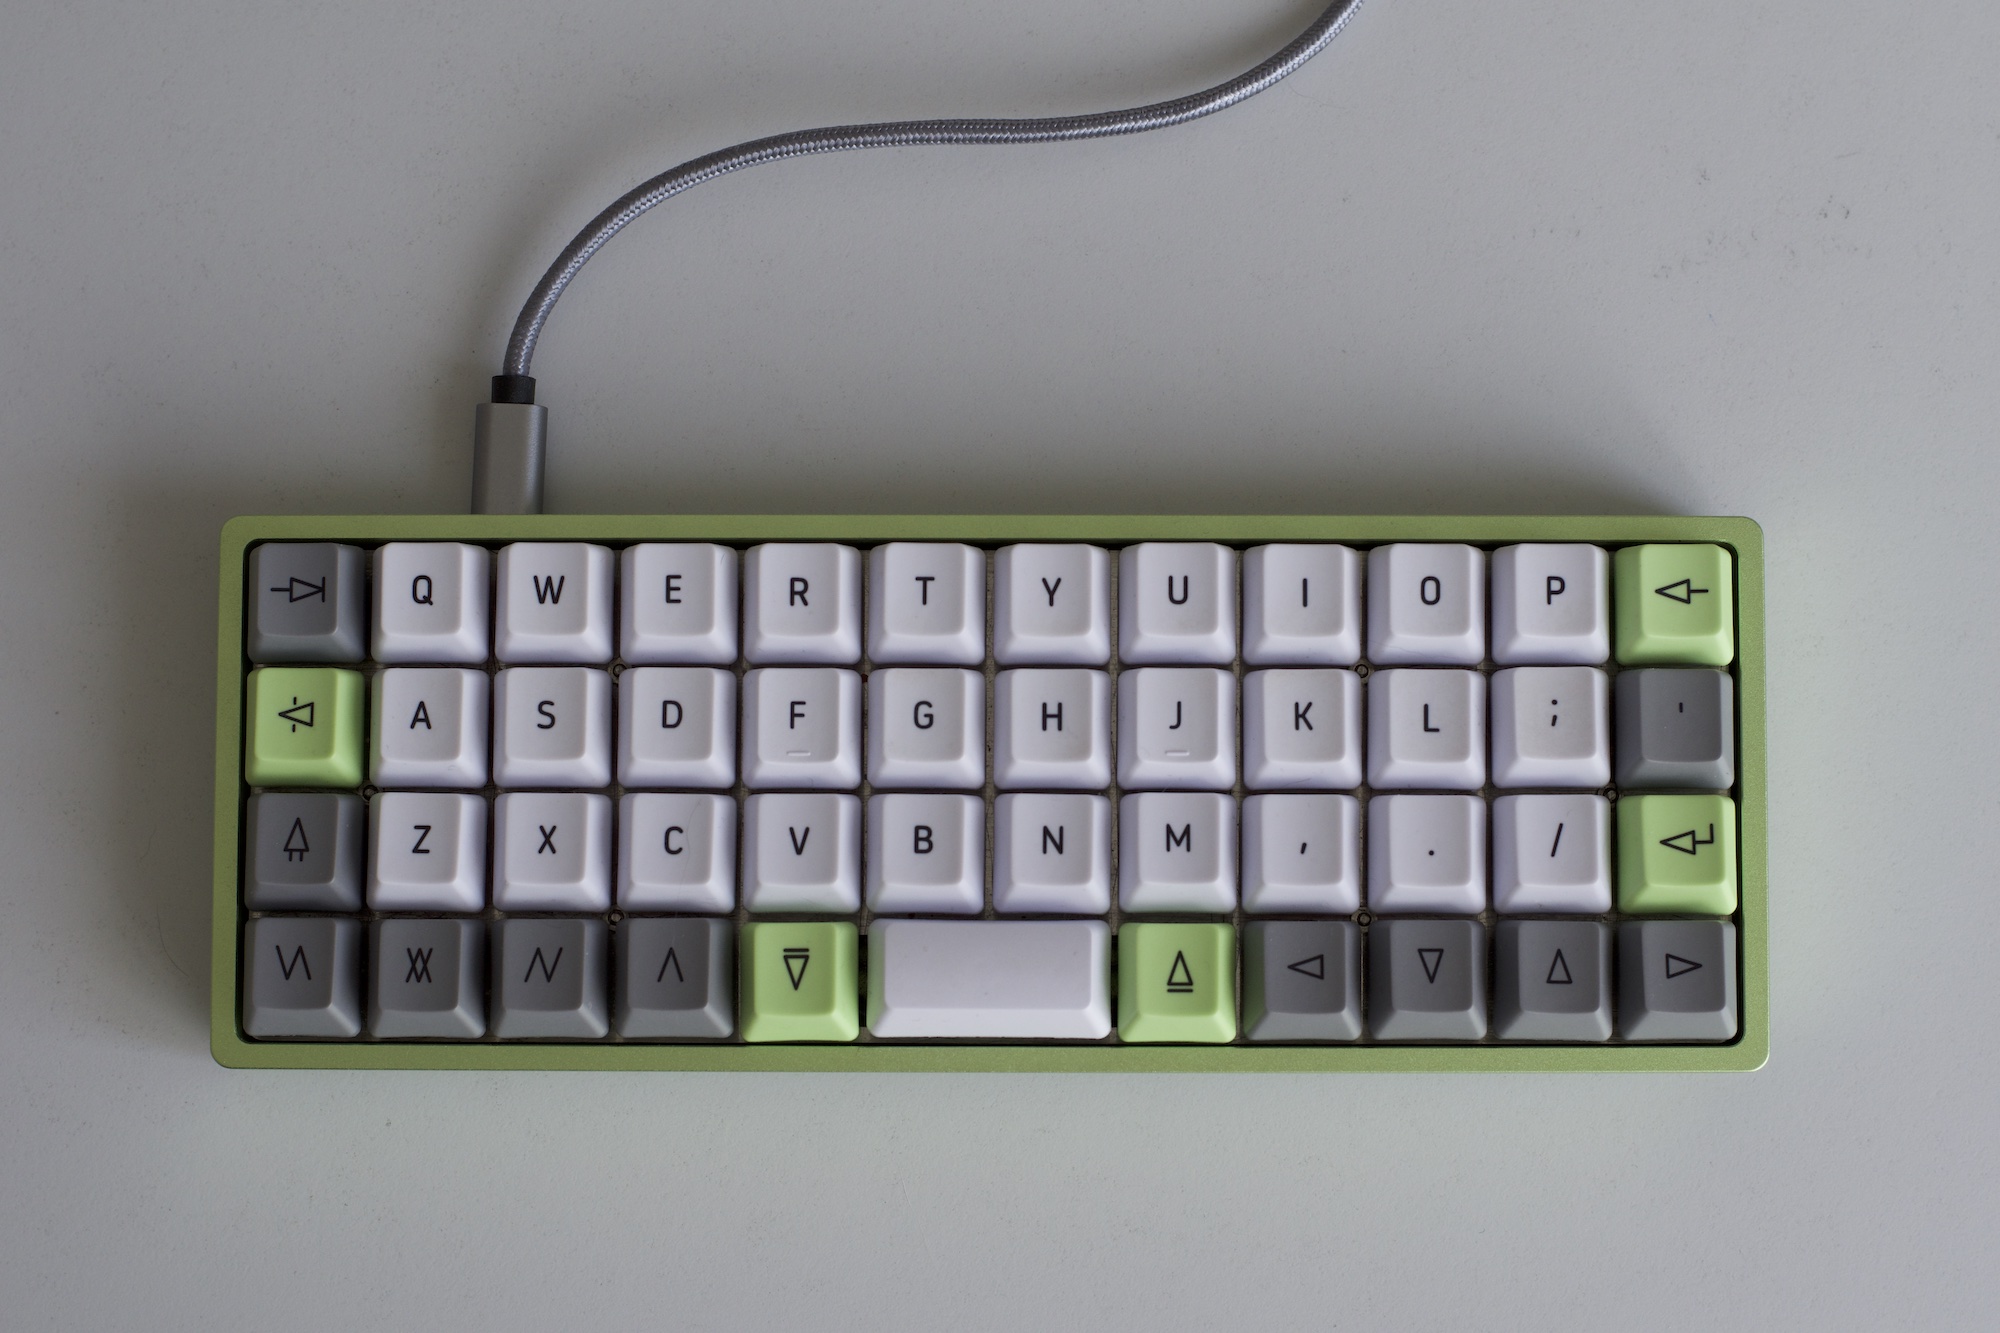 Key arrangement of the Planck keyboard.
Let’s take the right shift key for example. It is missing on the Planck keyboard. It should be where the enter key is located. The enter key is meant to be tapped (one can hold it down to create multiple new lines, but its behavior is the same as if it were pressed repeatedly) and the shift key is meant to be held down. We can assign the Mod-Tap function to the enter key to make it behave like a shift key when held. This frees up the arrow row on the bottom right. The right arrow button can also be configured to behave as Alt Gr with Mod-Tap.
Resulting layout
Here is the final layout I ended up configuring for myself. It’s inspired by the layout the Planck keyboard came with, but I adjusted certain aspects for my needs.
Note that the symbols in gray above the main symbol in black are the upper register, and the symbols to the right are alt-symbols activated by holding Alt Gr. I only included the ones that are important to me.

And here is the layout color-mapped on a Swiss-German ISO layout.

Here are the key considerations that went into the layout design:
- All letters from the Swiss-German alphabet are placed on the main layer
- Almost all remaining characters are accessible by pressing only one modifier key
- Keys are located at their usual position on the ISO keyboard or nearby
- The keys correspond to the characters that are printed on the keycaps as much as possible
Design details
Holding down the enter key produces a right shift press, allowing for unhindered 10-finger typing experience. Do I sometimes send unfinished chat messages when typing too fast? Absolutely, but I haven’t found a more reliable solution. For now, I just make sure not to release the enter key too quickly.
Holding the right arrow key produces an Alt Gr key press; thus, opening square brackets and opening curly braces are accessible when the right arrow key is pressed. Closing either bracket would require a switch to the lower layer by holding one additional key. In reality though, this is seldom required as most IDEs automatically place the closing brackets.
Upper register characters from the number row are also directly accessible in the lower layer, allowing register shift simply by activating the layer without pressing a shift key (this is from the default layout).
Function keys are concentrated around the layer activation key, making key presses possible with only one hand on the keyboard (this is the default behavior as well). This is very useful for debugging.
The positions of the ‘ and ^ keys are leftovers from trying out different layouts, and I just left them there. There is absolutely no specific reasoning for their placement.
Conclusion
The resulting layout is still not perfect. For instance, I absolutely hate the arrow row. I know it is meant to mimic the HJKL button behavior, but it doesn’t work for me. The HJKL keys are on the home row, and I know exactly when my finger is positioned on the J key because of the notch. For the arrow row, on the other hand, I need to move my hand down and to the right and try to feel for the edge of the keyboard with my pinky, which is just cumbersome. Still, this setup allows me to carry a full-fledged keyboard in a very small package.